Introduction
In the world of electronics and DIY projects, few creations capture the imagination quite like an 8x8x8 LED cube. This mesmerizing display of light and geometry has become a rite of passage for many hobbyists and makers, showcasing the power of Arduino and the endless possibilities of LED technology. In this comprehensive blog post, we'll dive deep into the process of building your own 8x8x8 LED cube, from the initial planning stages to the final assembly and programming.
Understanding the 8x8x8 LED Cube
An 8x8x8 LED cube is a three-dimensional matrix of 512 individual LEDs, arranged in a cube-like structure. Each LED can be individually controlled, allowing for the creation of stunning visual effects, animations, and patterns. The cube is typically powered by an Arduino Uno, a popular and versatile microcontroller board that serves as the brain of the project.
The key components required to build an 8x8x8 LED cube include:
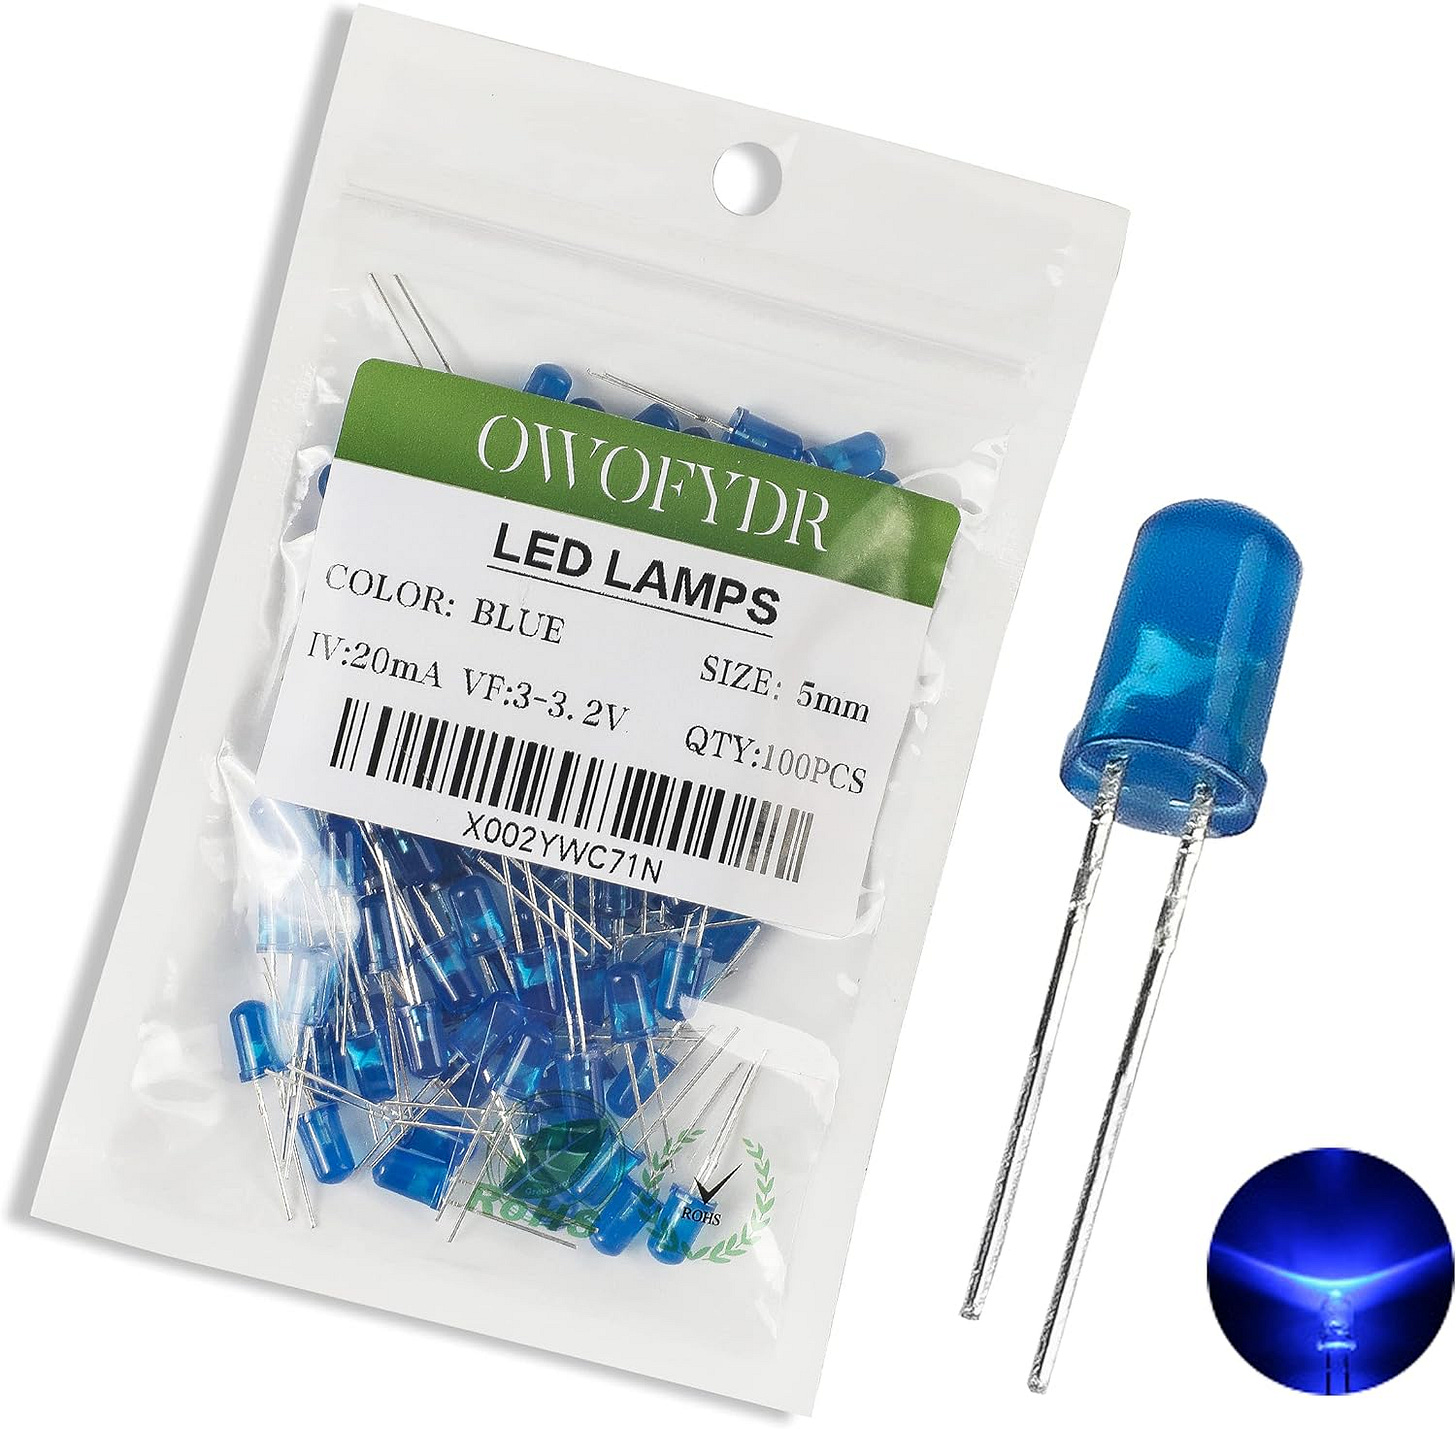
- 5mm diffused blue LEDs (512 in total)
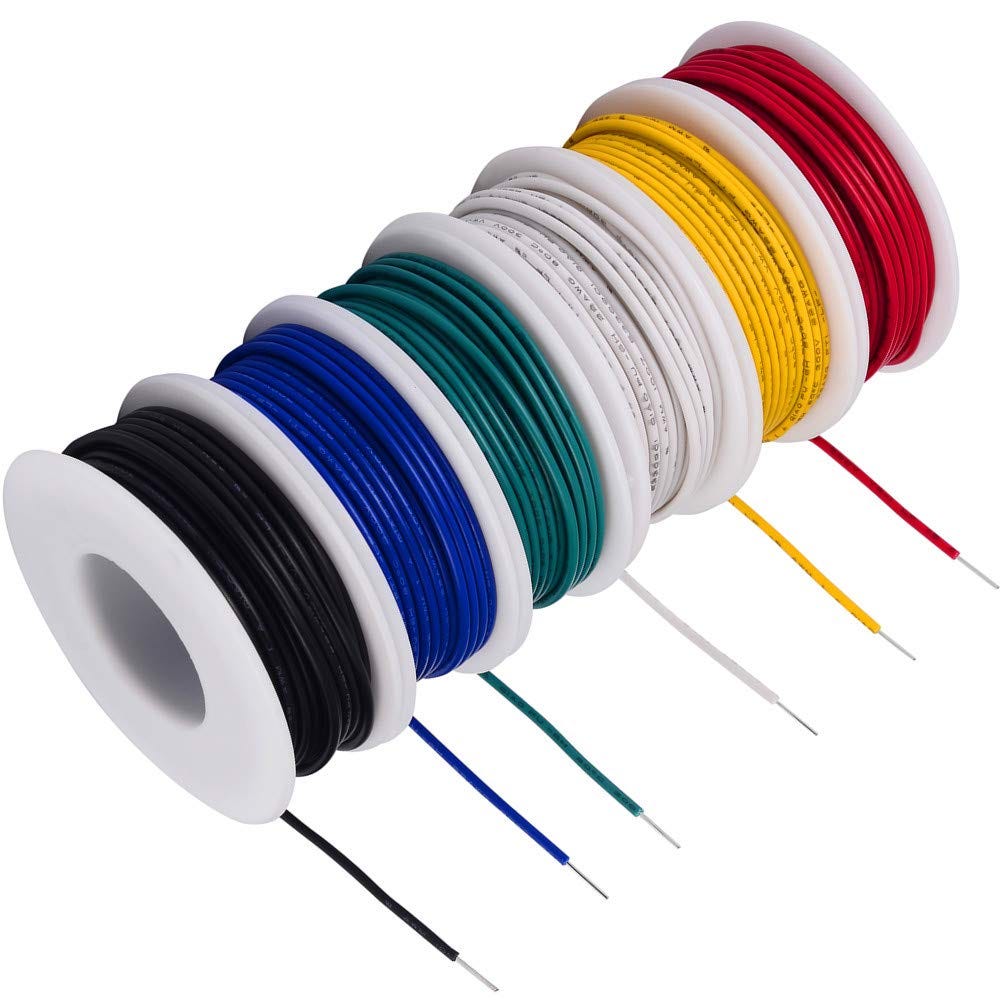
- 20 AWG tinned copper wire
- 5V 10A regulated switching power supply
- Ribbon cables
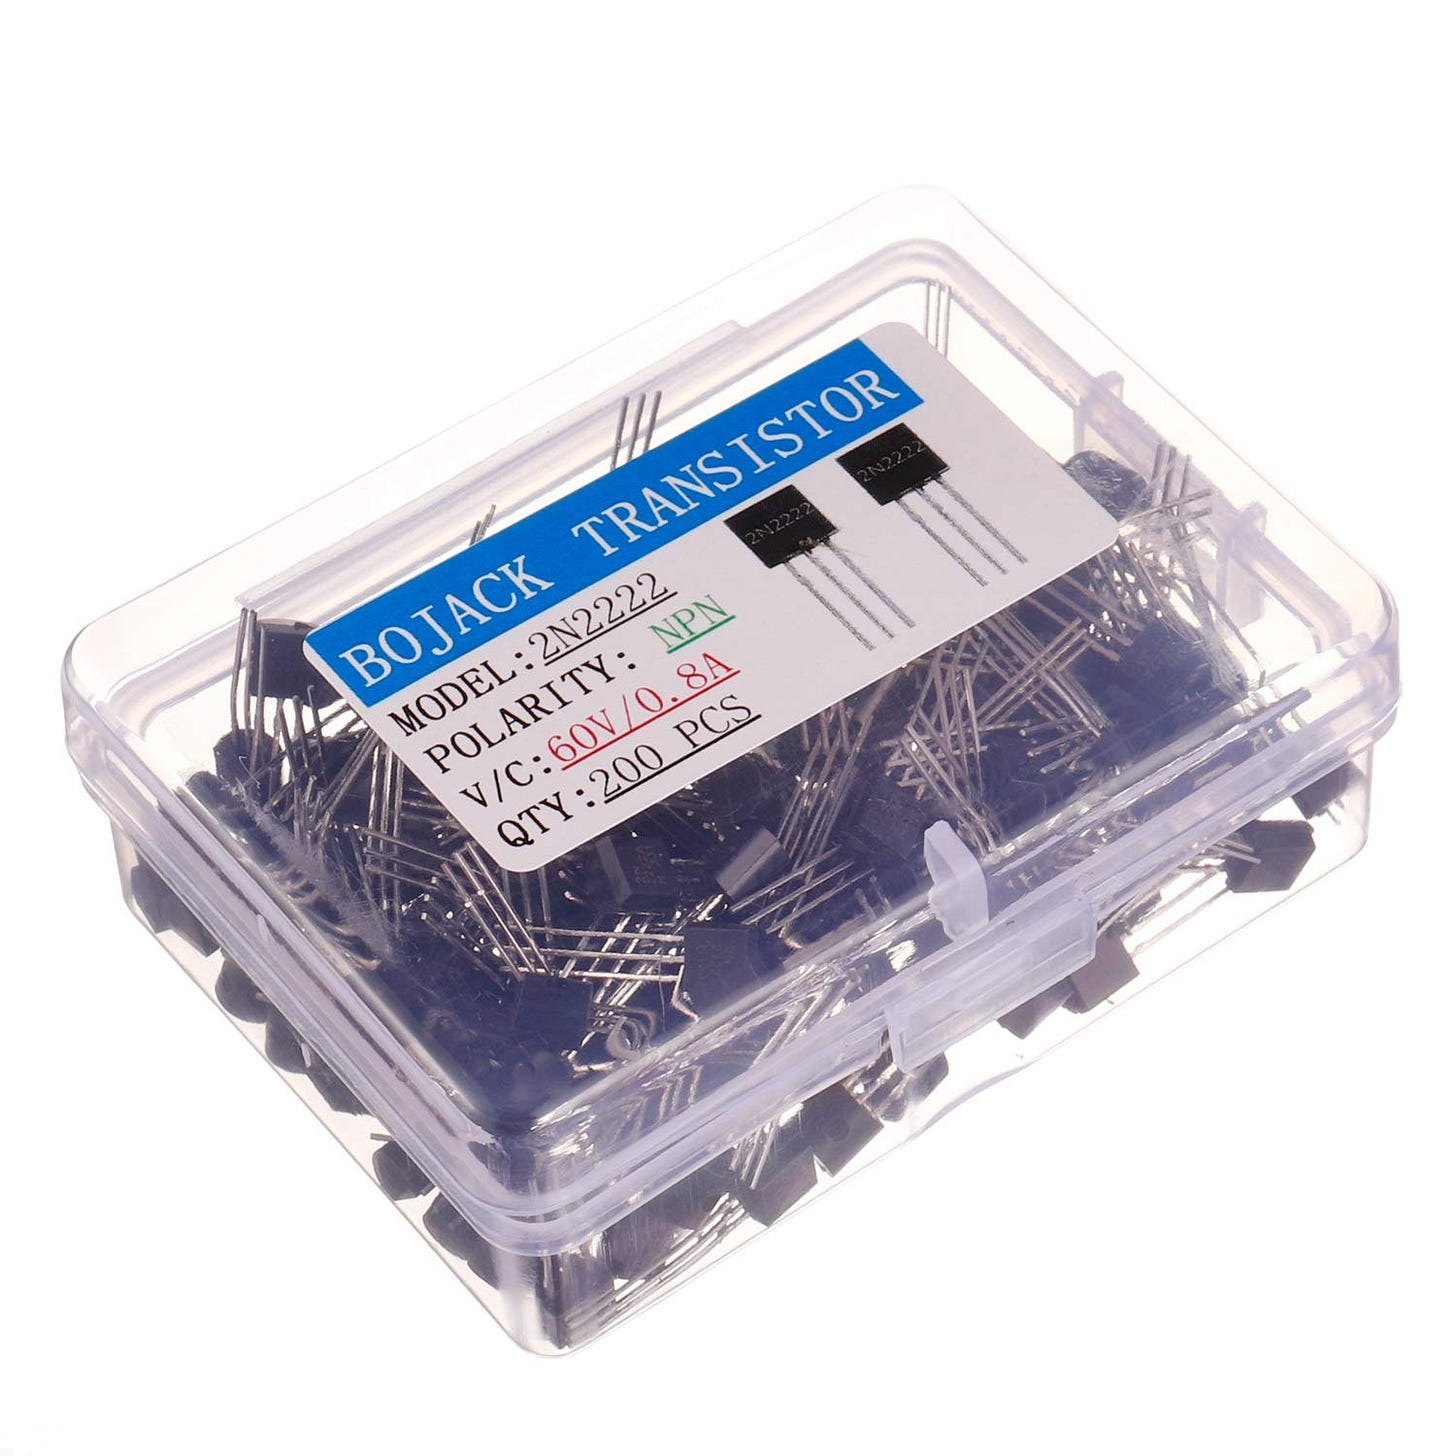
- PN2222 transistors (16 in total)
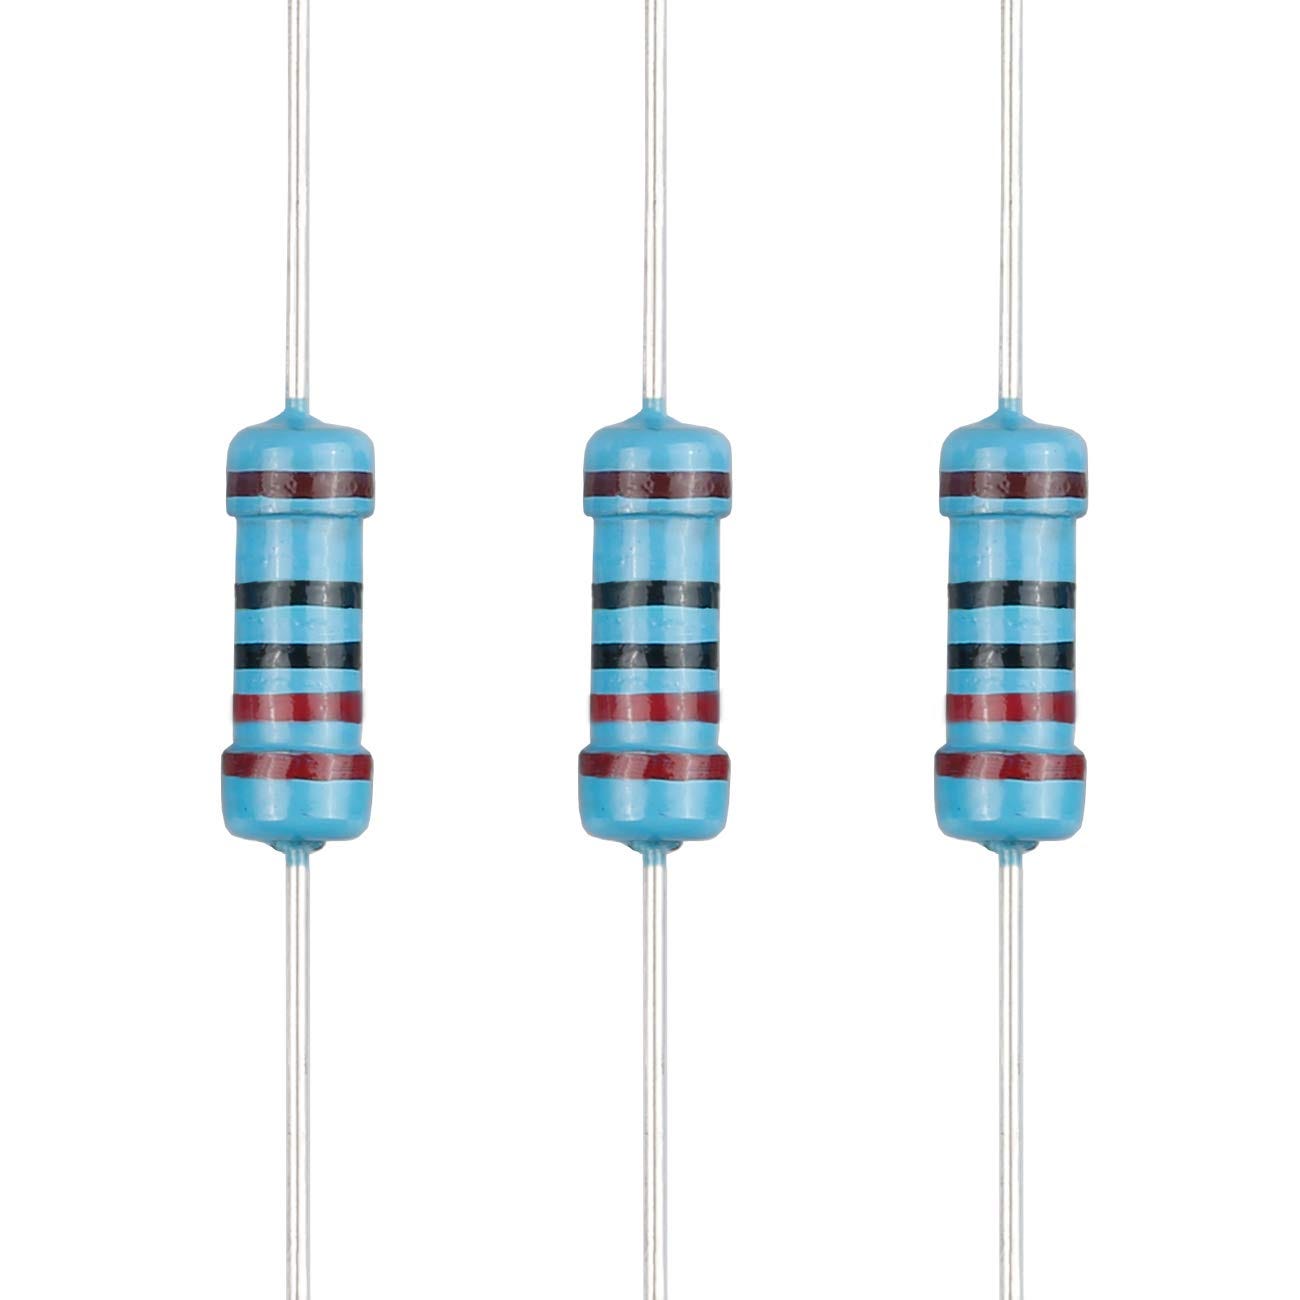
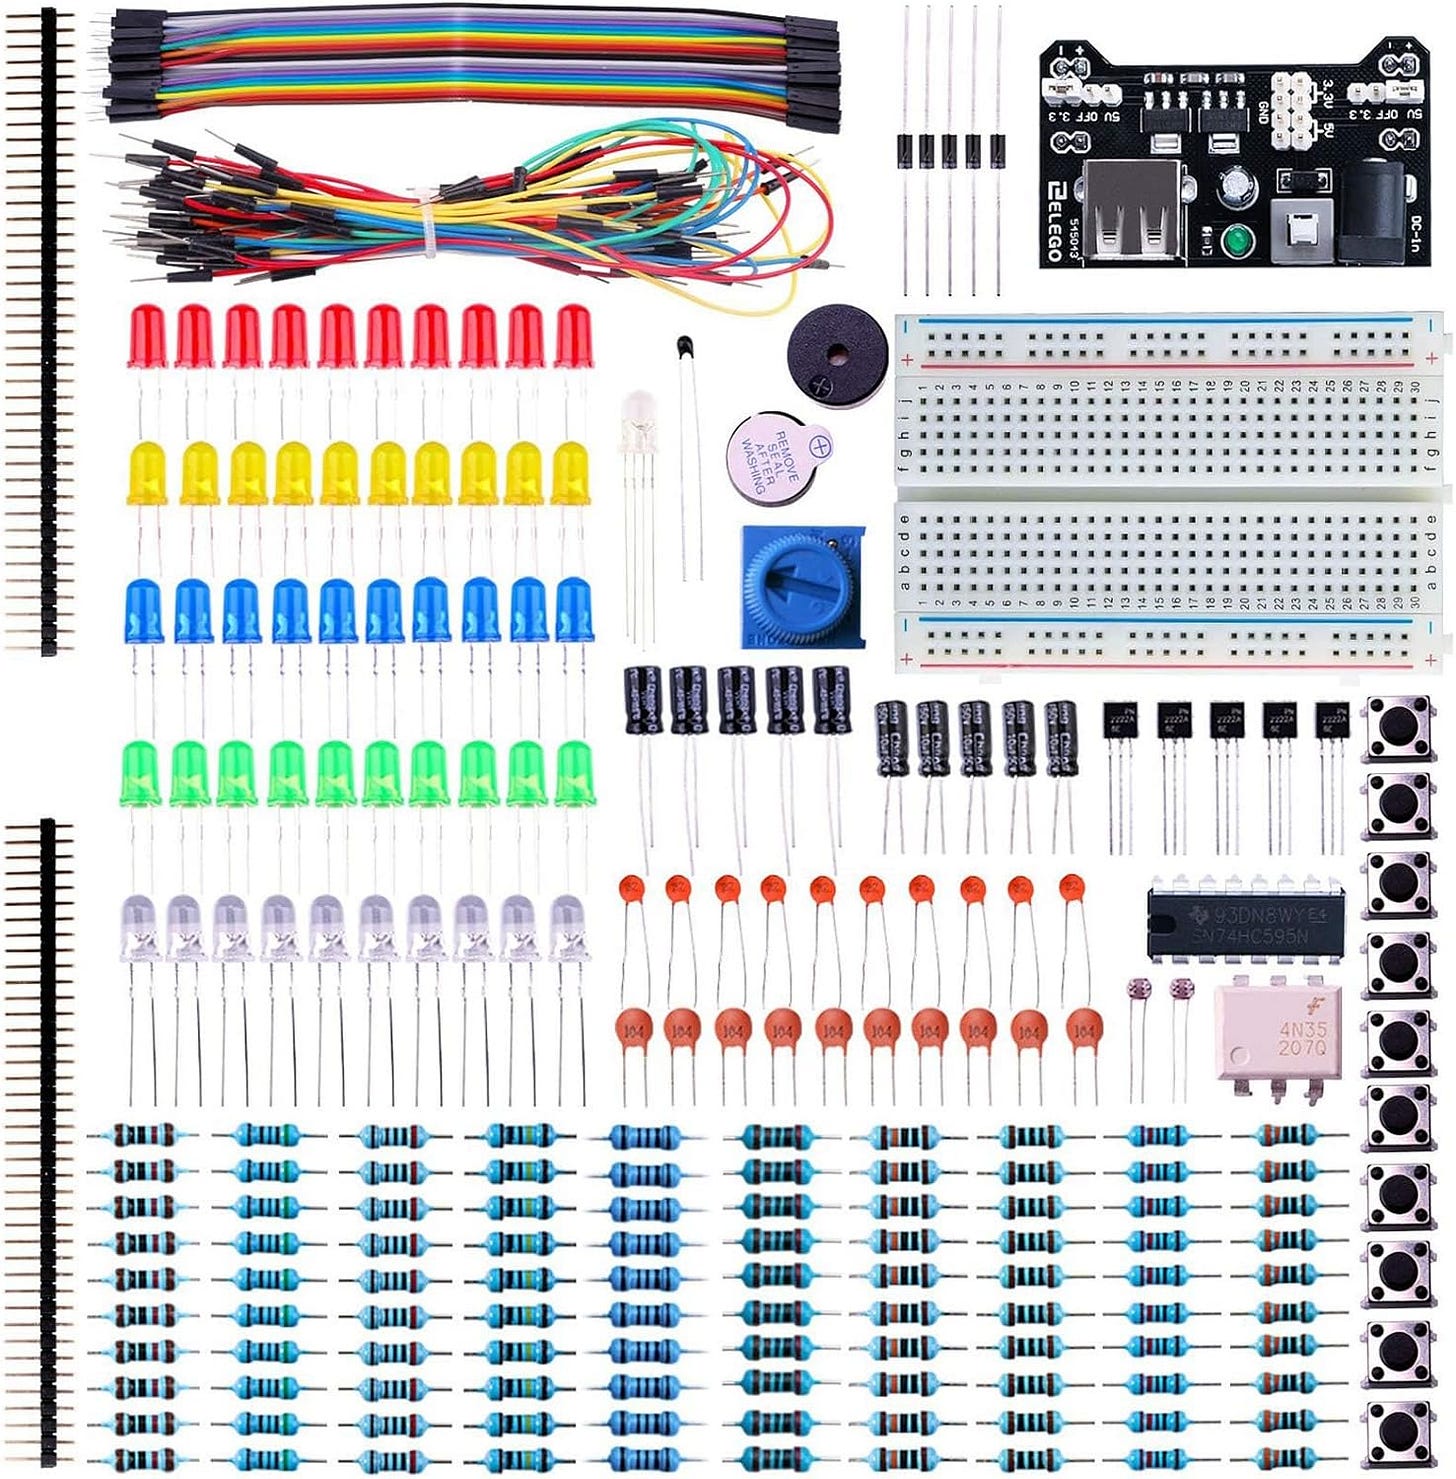
- 220 ohm resistors (64 in total)
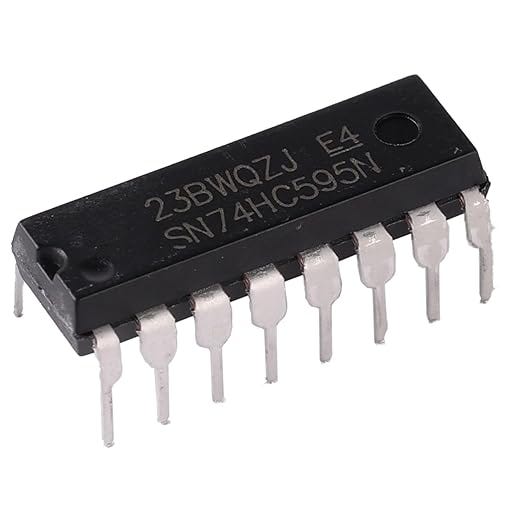
- 74HC595 shift registers (9 in total)
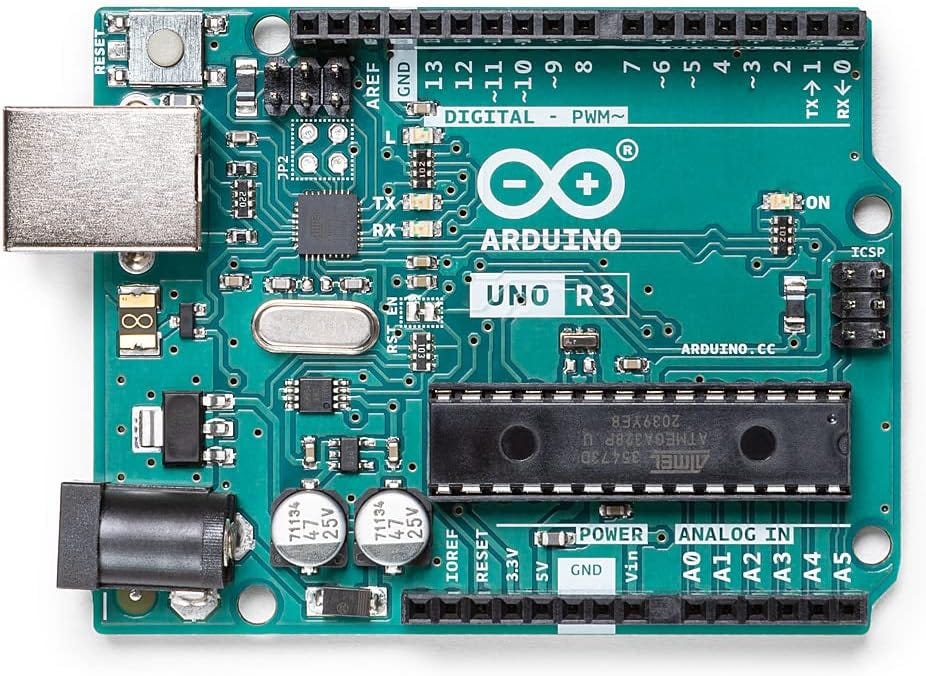
- Arduino Uno R3
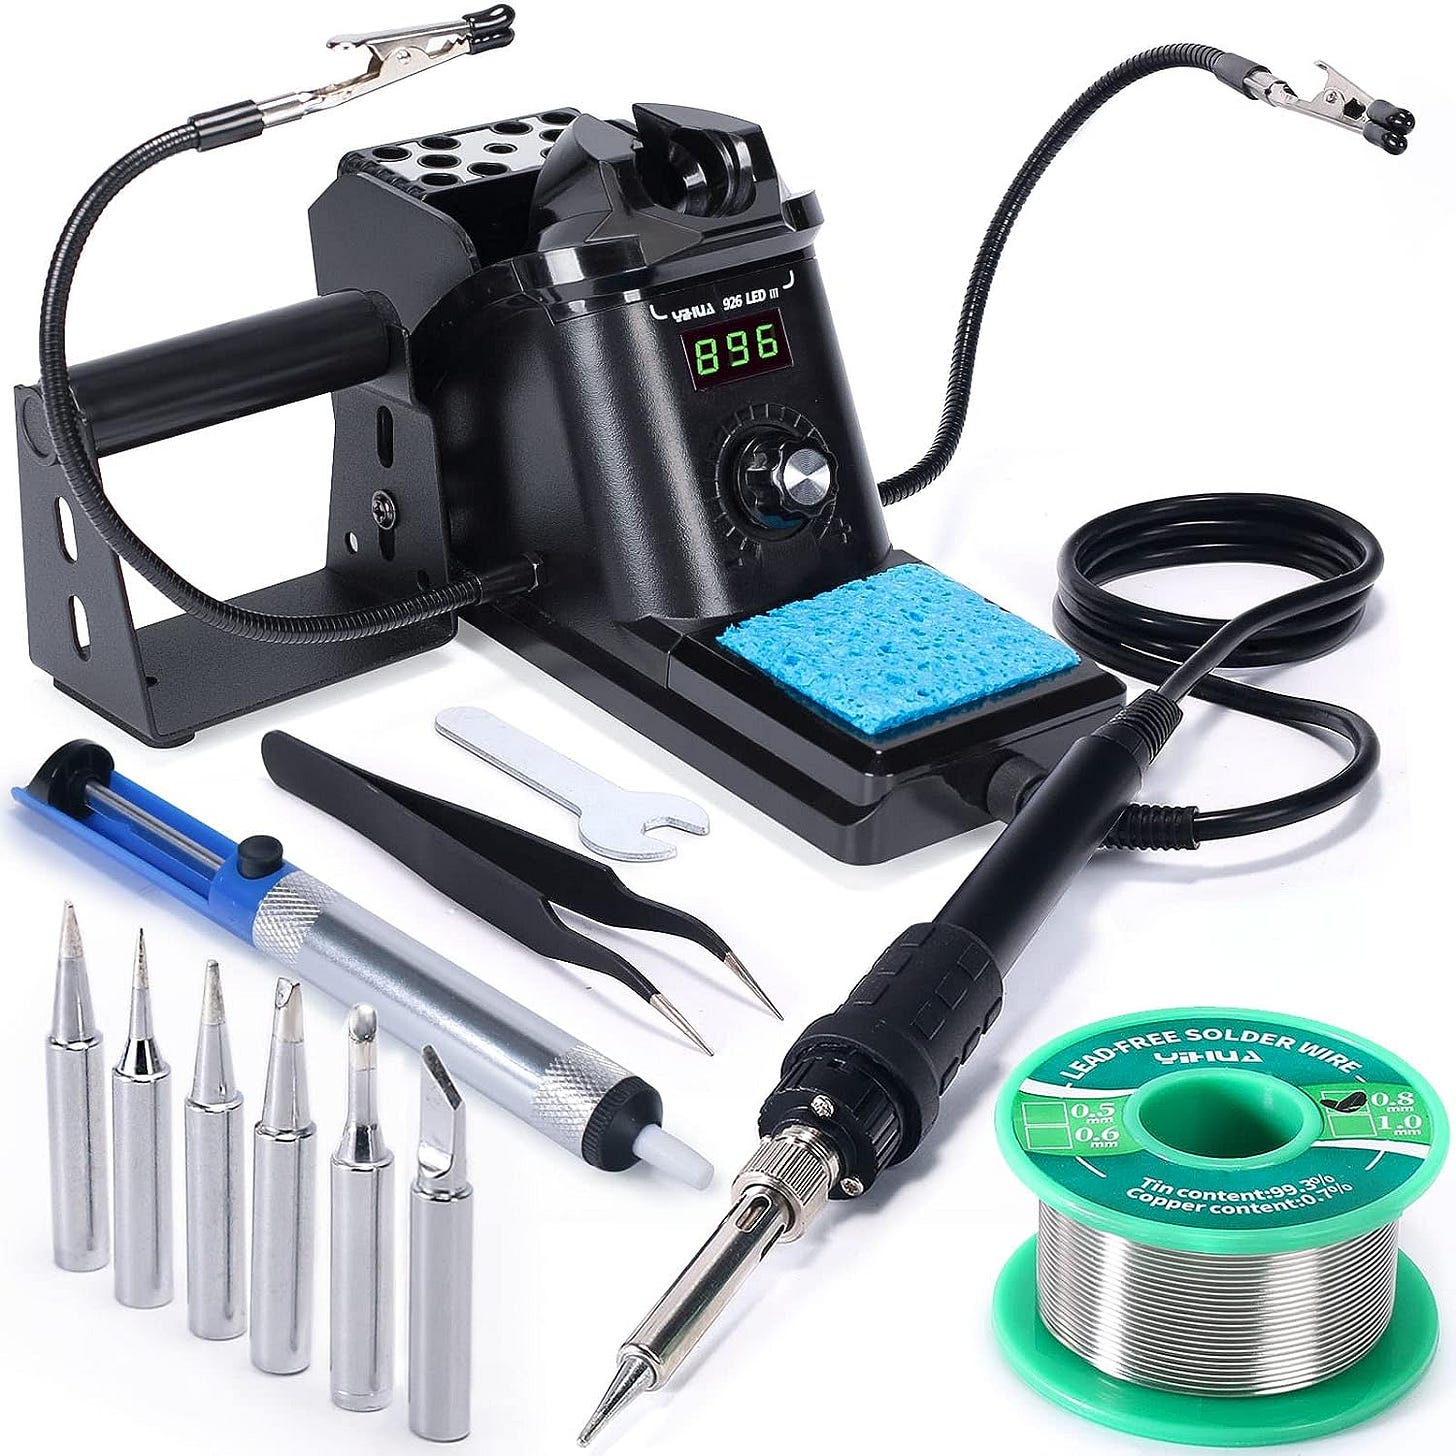
- Soldering equipment (soldering iron, solder, etc.)
- Prototyping board
- Wires, buttons, LEDs (for additional features)
- Wooden board, wood glue, clamps, spray paint, and foam boards (for the enclosure)
Planning and Preparation
Before diving into the construction process, it's essential to plan and prepare your project. Start by reviewing the source code and schematic provided in the video description. This will give you a solid foundation to work from and help you understand the underlying principles and wiring of the 8x8x8 LED cube.
Next, gather all the necessary components and tools. Ensure that you have a well-organized workspace and a stable surface to work on. It's also a good idea to have a plan for the enclosure, whether it's a simple wooden frame or a more elaborate design using foam boards and spray paint.
Constructing the LED Cube
Step 1: Wiring the LEDs
The first step in building the 8x8x8 LED cube is to wire the individual LEDs. Start by cutting the 20 AWG tinned copper wire into 8-inch lengths, one for each layer of the cube. Carefully bend the LED leads and solder them to the wires, ensuring that the positive and negative leads are properly aligned.
Once you have all the LED layers wired, it's time to assemble the cube. Begin by arranging the layers in an 8x8 grid, with the LEDs facing upwards. Secure the layers using wood glue and clamps, ensuring that the cube maintains its structural integrity.
Step 2: Wiring the Shift Registers and Transistors
The next step is to wire the 74HC595 shift registers and PN2222 transistors. These components are responsible for controlling the individual LEDs within the cube. Carefully follow the schematic provided in the video description to properly connect the shift registers and transistors to the Arduino Uno.
Remember to use the 220 ohm resistors to limit the current flowing through the LEDs, preventing damage and ensuring a longer lifespan for your project.
Step 3: Assembling the Enclosure
With the LED cube and electronic components in place, it's time to create the enclosure. Start by cutting the wooden board to the desired size, ensuring that it can accommodate the cube and any additional features you may want to include, such as buttons or additional LEDs.
Use wood glue and clamps to secure the cube to the wooden board, and consider adding foam boards or other materials to create a more polished and professional-looking enclosure. Finally, apply a coat of spray paint to the enclosure to give it a clean and cohesive appearance.
Programming the 8x8x8 LED Cube
Now that the physical construction is complete, it's time to bring your 8x8x8 LED cube to life through programming. The Arduino Uno will serve as the brain of the project, controlling the individual LEDs and creating the desired visual effects.
The source code provided in the video description is an excellent starting point. Review the code, understand the underlying logic, and make any necessary modifications to suit your specific needs or preferences.
Some key programming concepts you'll need to master include:
- Controlling the shift registers to address individual LEDs
- Implementing various lighting patterns and animations
- Incorporating user input (e.g., buttons) to interact with the cube
- Optimizing the code for efficient performance and memory usage
As you delve deeper into the programming aspect, you may want to explore additional features or customizations, such as:
- Implementing sound-reactive effects
- Integrating wireless control (e.g., Bluetooth, Wi-Fi)
- Developing a web-based interface for remote control
- Exploring advanced lighting effects and algorithms
Troubleshooting and Maintenance
Building an 8x8x8 LED cube is a complex project, and you may encounter various challenges along the way. It's essential to have a systematic approach to troubleshooting and maintaining your creation.
Some common issues you may face include:
- Faulty wiring or connections
- LED failures or burnouts
- Programming bugs or errors
- Power supply issues
To address these problems, start by carefully inspecting your wiring and connections, ensuring that everything is properly soldered and secured. If you encounter LED failures, replace the affected LEDs promptly to maintain the cube's visual integrity.
For programming-related issues, thoroughly test your code, check for syntax errors, and consider seeking help from online forums or communities. If you're experiencing power supply problems, ensure that your power source is capable of providing the necessary voltage and current to the cube.
Regular maintenance, such as cleaning the cube and checking for loose connections, can also help extend the lifespan of your project and ensure its continued operation.
Conclusion
Building an 8x8x8 LED cube with an Arduino Uno is a captivating and rewarding project that showcases the power of DIY electronics and programming. By following the steps outlined in this blog post, you'll be well on your way to creating your own mesmerizing LED cube, ready to impress your friends, family, and the wider maker community.
Remember, the journey of building an 8x8x8 LED cube is as much about the process as it is about the final result. Embrace the challenges, learn from your mistakes, and enjoy the sense of accomplishment that comes with bringing your creation to life. Happy building!


